Grid weld quality requirements
更新時間:2021-01-08 14:26:47?點擊:31578 ? Industry Views

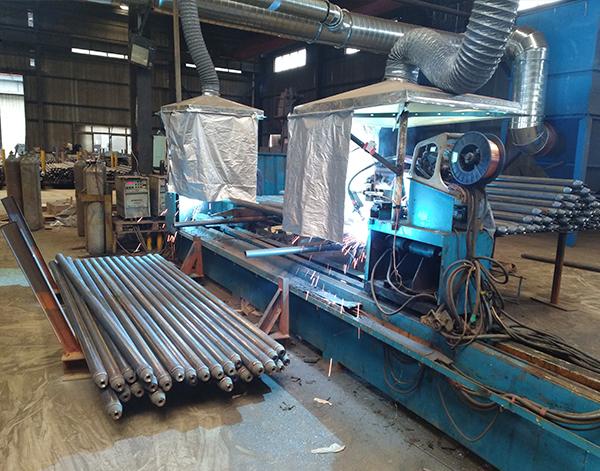
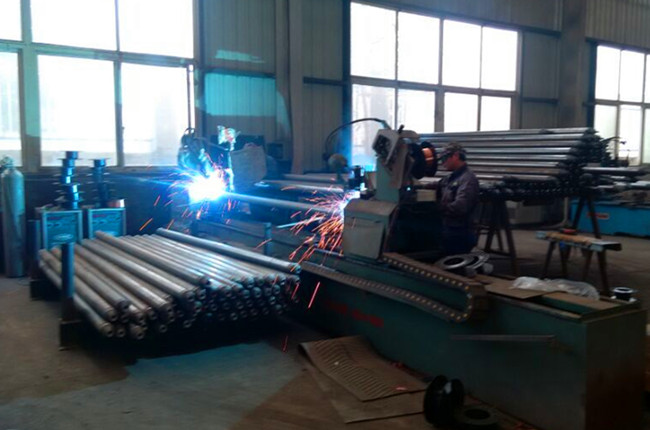
The weld quality grades of the steel structure grid processing can be divided into three grades according to the importance of the structure, the characteristics of the actual load, the form of the weld, the working environment and the stress state. Different quality levels have different quality requirements for welds, and different inspection ratios and acceptance standards.
The quality inspection of grid processing and welding is an important link in the quality assurance system of grid steel structure. It is also a way to test the best grid processing plants in Xuzhou.
The quality inspection of welds includes visual inspection and internal defect detection:
Visual inspection usually uses visual inspection to check the weld surface shape, size and surface defects. Internal defect detection is mainly to detect whether there are defects such as cracks, pores, slag inclusion, lack of fusion and incomplete penetration in the weld. It is carried out after the visual inspection is completed. The commonly used methods are ultrasonic flaw detection and radiographic flaw detection.
The method and relevant regulations of the grid processing plant for the symbolic representation of the welds:
1. The lead line of the weld is composed of an arrow and two reference lines, one of which is a solid line and the other is a dashed line. The line type is thin.
2. The dashed line of the reference line can be drawn on the upper side of the solid line of the reference line or on the lower side. The reference line should generally be parallel to the title bar of the drawing, and vertical to the title bar only under special conditions.
3. If the welding seam of the grid processing is on the arrow side of the joint, the basic symbol is marked on the solid side of the reference line; if the weld is on the non-arrow side of the joint, the basic symbol is marked on the dashed side of the reference line.
4. When it is a double-sided symmetrical weld, the datum line can be omitted.
5. There are generally no special requirements for the position of the arrow line relative to the weld, but the arrow line should point to the workpiece with the groove on the side when marking the unilateral weld.
6. The basic symbol, supplementary symbol and the reference line intersect or tangent, and the line segment that coincides with the reference line is represented by a thick solid line.
7. The basic symbols, auxiliary symbols and supplementary symbols (except the tail symbols) of the welding seam of the grid processing are all thick solid lines, and the size numbers are also thick solid lines in principle, the tail symbols are thin solid lines, and the tail symbols are mainly for marking welding Process, method, etc.
8. On the same graph, when the weld form, cross-section size and auxiliary requirements are the same, you can select only one place to mark the symbol and size of the weld, and add "symbol of the same weld", the same weld symbol is 3/4 arc, drawn at the turning point of the lead line.
Recommended Reading
-
African customers visited inspections, joined hands with new opportunities to start a new chapter in
2025-01-17 16:30:06?12519 次
-
Steel structure grid advantage
2021-03-11 16:10:29?194417 次
-
Force analysis of grid installation
2021-03-11 15:45:37?183129 次
-
Grid rod processing
2021-03-10 09:48:09?720089 次


